French Braid Vs. Dutch Braid: What's The Difference?
You may remember the cool sporty girls at school who wore their hair in gorgeous French braids when they were totting off to practice. The technique has been alluring and elusive for many of those who admired these braids from afar but were unable to master the look themselves. Thankfully, braiding has become even more popular in recent years, which has produced a slew of helpful articles describing how to achieve this coveted hairstyle for yourself.
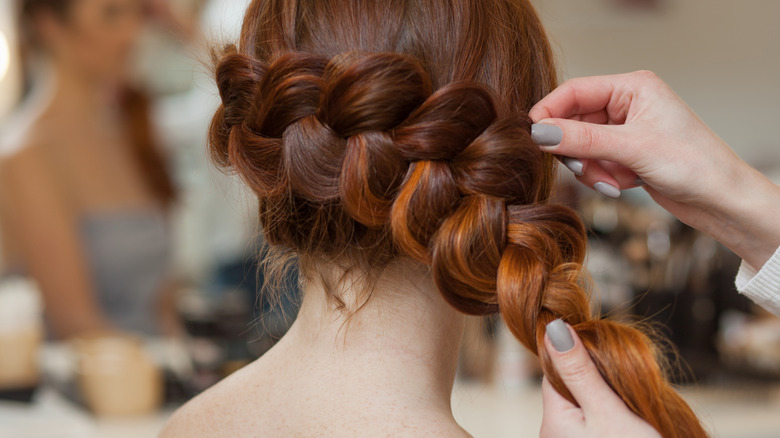
Just when we thought we had mastered the French braids of our dreams thanks to the internet, Dutch braids entered the chat and turned everything upside down. If you're unfamiliar with the style, Dutch braids are essentially a reverse braid where you cross hair underneath each section instead of crossing over, as you would for French braids (per Byrdie). These two hairstyles often get confused for one another as they're very similar, but the techniques vary slightly to create different results.
We dove into the battle between the French braid and the Dutch braid to determine what makes them different and how to perfectly achieve both looks at home.
The French braid may not have originated in France
Despite its name, the French braid may have origins outside of France. According to Ipsy, some people believe the technique can be traced back 6,000 years to North Africa, whereas others believe it started during the Sung Dynasty in China around 960. Regardless of where this style originated, its popularity has remained intact for generations. If you want to join the braided elite and learn how to adopt this style yourself, you can do so with a few simple steps.
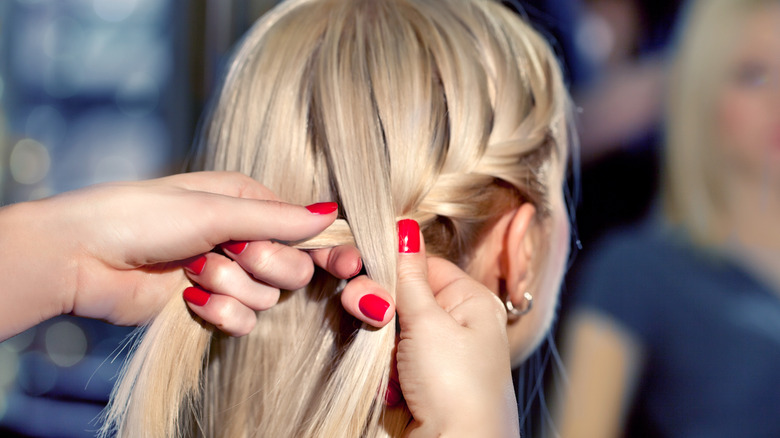
First, determine whether you want a single or a double braid and divide your hair accordingly. Next, you'll need to split the hair into three separate sections at the crown of your head. Then you'll cross the right strand over the center before crossing the left strand over the center. Repeat this motion a few times while maintaining the outside-strand-over-center pattern as you descend down your strands.
How to complete your French braid
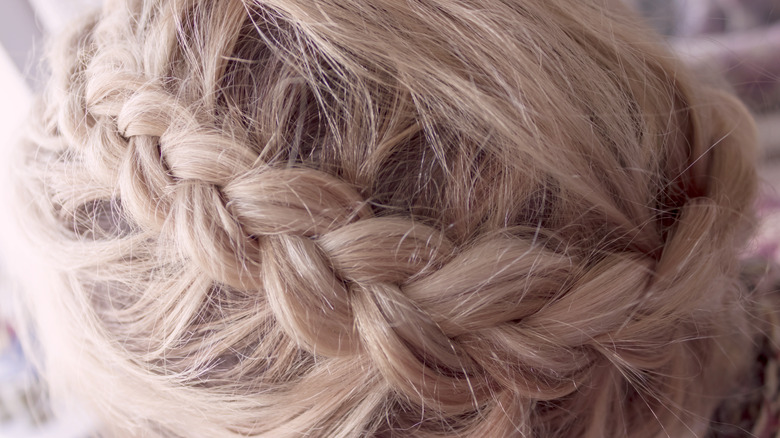
After you've gotten the main pattern started, you'll slowly add pieces of hair to the braid. As you grab the left section of braided hair, pull in additional pieces on the left side of your head and then repeat the motion for the right section. Be sure to do this in a straight line as this ensures you'll create a tight braid and maintain the style more effectively, per Byrdie. Once you bring the hair down the nape of your neck, you can finish with a traditional braiding technique before securing everything with a hair tie.
Ta-da! You've got a French braid. This hairstyle is great for numerous occasions, and you can French braid your hair when it's wet to get gorgeous beach waves with minimal effort. Before you go to bed, section your hair into one or two French braids and spritz the strands with a moisturized texture spray. All you'll need to do when you wake up is release the braids, give your hair another quick spray, and tousle with your fingers.
Dutch braids use a similar technique to French braiding but with one key difference
Like the French braid, you can fashion a Dutch braid into a single or a double plait depending on your preference. It requires a similar technique but instead of bringing the left and right sections of your hair over the center piece, you bring these sections underneath the center, per Cosmopolitan. To do this properly, you'll start by creating three sections in your hair near the crown of your head, like you would for a French braid.
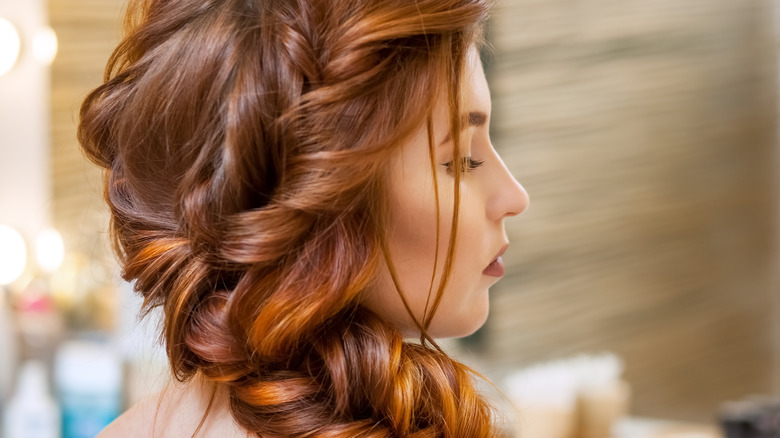
Next, bring the left strands of hair under the center piece and repeat this motion with the right strands of hair. In doing so, you create the signature floating braid effect that distinguishes the Dutch braid from the French braid. Continue this motion until you've incorporated all your hair into the braid before tying it off with your favorite elastic. You can pin the braid as well if you want to create more of a milkmaid look, which is softer and slightly more unique.


