The Viral Painted Wall Arch Trend Is Easier To Do Than You May Think
There is something about spring that makes many want to change up a few things. So it's no surprise that the painted wall arch trend is bubbling up all over the internet. It's a fun, easy way to transform a space without spending too much money, according to Ideal Home.
The basic concept is simple — choose a space on a wall that could use a little more personality, trace an arch, and paint it in your color of choice. Beyond the basics, there are countless variations that add a lot of individuality to what's become a popular decorating tool.
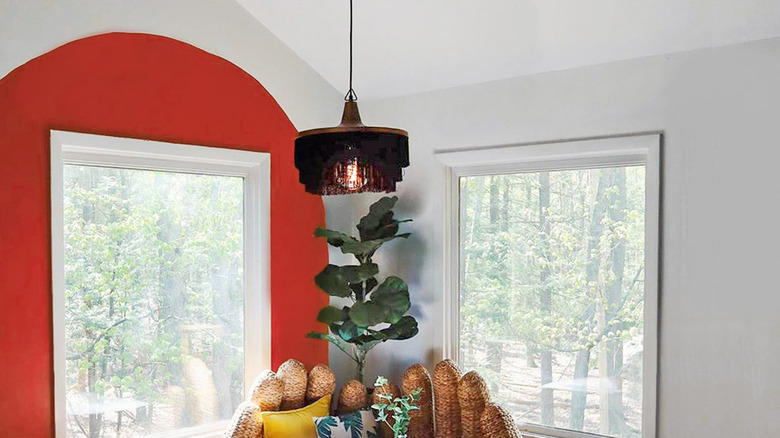
For instance, the arch doesn't need to be featured on a bare wall. Instagram is bursting with pictures of arches painted as headboards, over doorways and windows, behind shelves, and even positioned to highlight favorite art pieces. Sizes range from extra small to wall-covering. And the color makes all the difference, as VeryWellMind notes, from soothing neutrals to bold and spicy reds, a painted arch can either create an atmosphere of calm, or light the room on fire.
Sarah Amos, an interior stylist, decided to use a painted arch to highlight an otherwise small and simple entryway. She told Stylist, "After hanging some timber hooks I decided it just didn't have the impact I was looking for, so I researched the painted arch idea a little further on Instagram and I had my solution — a large scale archway to encompass the hooks in a soft shade of my [favorite] sage green!"
A painted arch can transform a space
The project is easier than you might think. Once you choose the perfect spot, determine what arch size and shape you prefer, and collect your supplies: paint, an angled brush, roller brush, and something to protect your floor from the paint, (via Apartment Therapy). Unless your arch will be really large (more than 10 feet by 10 feet), a quart of paint will likely be plenty, (via Bob Vila). Then, prepare your wall for painting by filling in – and then sanding until smooth – any cracks or holes, removing switch plates that are in the way, and giving the area a good wipe down to make sure the whole surface is clean and smooth, (via Benjamin Moore).
Using a pencil and a ruler or other straight edge, trace the straight vertical lines that will form either side of your arch. Once that's done, it's time to trace the curved, semi-circle shape of the arch itself. To do this, attach one end of a string to the midpoint of your circle (a pushpin in the wall works well for this), and the other to a pencil. Pull the string tight and trace the circular outline of the arch down to where it meets your straight vertical line.
Once the outline is drawn, use an angled paint brush to paint the outline of the arch, and then use a small roller brush to fill in the outline. Finally, stand back and admire your work!

