Create The Perfect Halo Braid In 5 Simple Steps
Braids are a classic hairstyle you can rock for any occasion. From holidays to your literal wedding, braiding your hair will easily elevate your entire look in no time. Wearing braids has numerous pros, whether you're wearing your natural hair or using them as a protective style. Most of them last longer than the average hairstyle, and there are so many styles from which to choose.
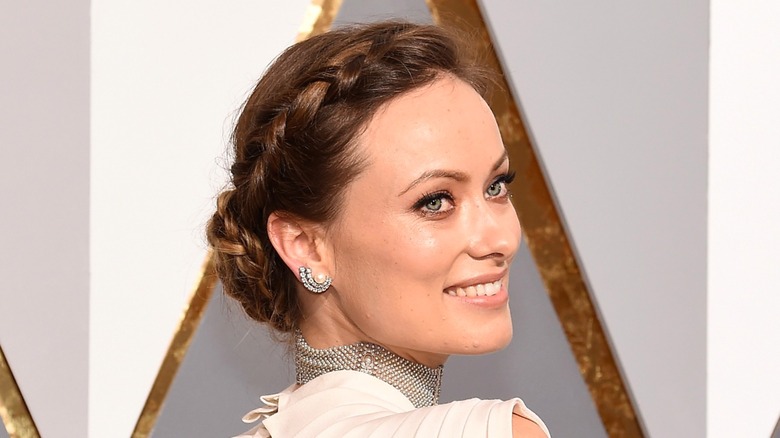
However, some braids are harder to create than others, especially if nobody has taught you how. One of these is definitely the halo braid, which can seem scary to tackle on your own. A halo braid usually consists of pinned Dutch or French braids (or just one braid if your hair is long enough) that wrap around the crown of your head, much like the halo of an angel. It can be more or less structured, as well as combined with other hairstyles like buns and ponytails.
As a halo braid can be tricky to do by yourself, make sure to prepare all the tools you'll be using to ensure a hassle-free braiding experience. You'll need your usual cleansing and conditioning products, a couple of combs, the mandatory bobby pins, and hairspray to finish off the braided look. Depending on the level of messiness you want your halo braid to have, you might also need a blow dryer and a hair straightener.
Start with clean hair
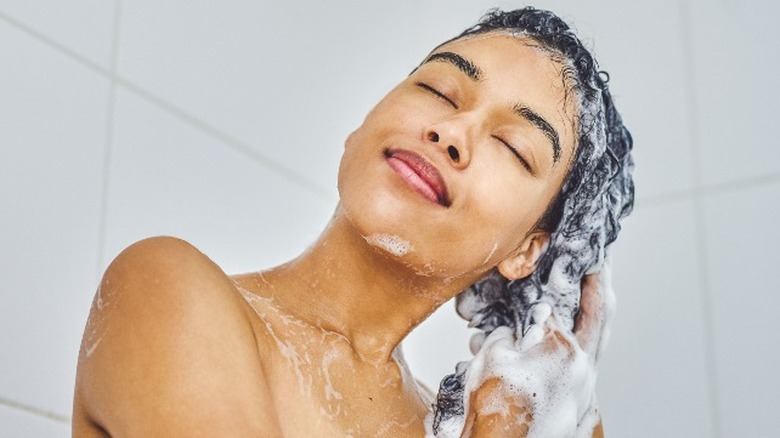
A halo braid will benefit most from freshly washed hair and is definitely not one of those hairstyles that looks better with third-day hair. Washing your hair on a regular basis is obviously important for multiple reasons, one of which is to get rid of anything that may weigh it down. "This step is important because you want to ensure the hair has no product build-up," hairstylist Jada Jenkins noted in a conversation with InStyle.
Sebum, oils, and built-up products can make the hair greasier than it would normally be, so it's crucial to cleanse it properly, double board-certified dermatologist Brendan Camp explained when speaking with Allure. As not all hair types need daily washes, consider scheduling your halo braiding on a wash day to ensure the best possible results.
If your hair usually feels flat after shampooing, double-shampooing could be the solution to this common hair problem. Using different styling products routinely can cause thicker product build-up, and shampooing your hair just once might not cut it, says hairstylist Sal Salcedo. "Shampooing your hair twice is beneficial because it allows for proper cleansing, gives you longer periods with a clean scalp, and helps control oily hair," she told Byrdie. Once you've properly cleansed your hair and scalp, it's time to condition.
Don't skip conditioning your strands
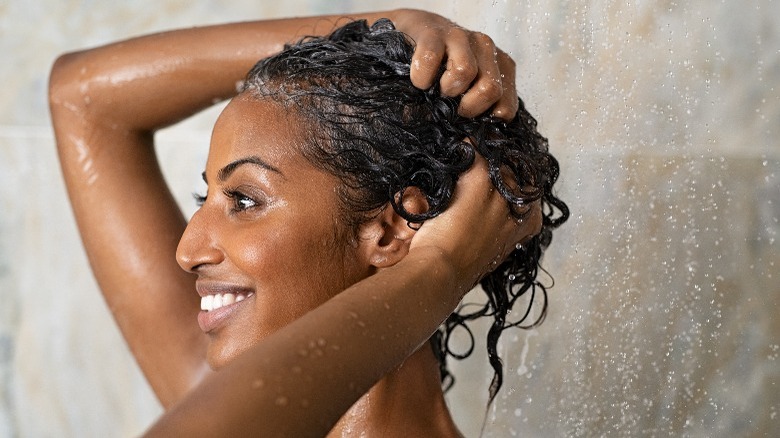
The next step in preparing the hair for the perfect halo braid is to condition it. You'll want to go about this step as you would normally, as not every hair type benefits from the same conditioning process. If you have straighter hair that is more fine than thick, applying a regular conditioner to hydrate your strands will be enough. Use a wide-tooth comb to detangle and rinse clean. In the case that your hair is on the coarser side, you might want to do a deeper conditioning treatment that will allow for better penetration of product into the hair. Detangle as usual with your go-to detangling brush or comb.
While it may seem like a bore, don't skip this step. Doing a halo braid includes heat styling, and your hair needs all the protection it can get. "When the hair is exposed to the outside world, the cuticle, or outer lining, gets damaged until it ultimately breaks; the conditioner fills in those injuries and coats the hair to assist the cuticle," board-certified dermatologist Adam Friedman explained regarding the importance of using a conditioner in a conversation with Allure.
Other than its protective properties, conditioning your hair will make it shinier and smoother, which is exactly what we want for the perfect halo braid. Also, your hair will be happier!
Blow-dry and straighten your hair to remove texture
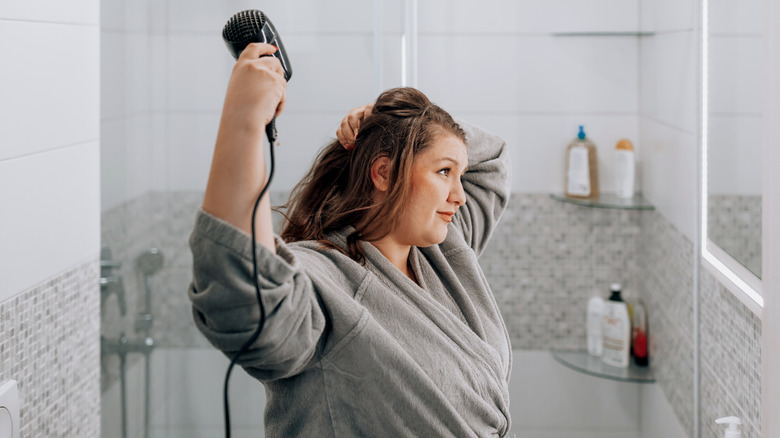
After you've washed and conditioned your hair, it's time to get it dry and prepare it for braiding. This step will mostly depend on the type of your hair and the look of the halo braid you're going for. For finer hair, just blow-drying it will be enough to remove unwanted texture and smooth it out. Make sure to use a heat protection product to properly protect your hair from heat. Hairstylist Franco Vallelonga advises starting by dividing your hair into two sections to make it easier to manage. Then, "begin drying the underneath layers with a brush, using high heat. Point the dryer's nozzle downward to help smooth hair and create shine," he said when speaking to Vogue.
If you have thicker hair with lots of volume, just blow-drying it might not be sufficient for a sleek finish. In that case, your hair straightener is going to be your best friend. "Depending on your hair texture, you can use a flat iron to lightly press the hair out. The higher the texture, the more reason to sleek it out," Jada Jenkins shared with InStyle. A sleek halo braid will turn out best with hair that's been maximally smoothed out, but if you like a messier look and don't have too much hair texture to begin with, simply drying your hair after the shower should do the job.
Braiding the hair

It's finally time to braid! Some people do the halo braid with French braids and others with Dutch braids. The difference between the two is in the braiding technique and the end result.
According to hairstylist Susan Oludele, a French braid has more volume than a Dutch braid because it's not sitting super tightly on the scalp, which is also why it's a better choice for a messier halo braid. "[In] a French braid, you use hair strands over the middle section of the braid, while a Dutch braid uses hair strands under the middle section of the braid," Oludele explained in a conversation with InStyle.
Once you've decided on the style you prefer, part your hair with a rattail comb for maximum precision and optionally apply a styling gel to tame any flyaways. Place your hair behind your ears and start braiding from either your left or right side, making your way across the head to the opposite side. "Picking up hair as you go along will allow the hair to be attached to the scalp. You can also add braiding hair while doing this process to make the braid fuller," Jada Jenkins advised when speaking with InStyle. Once you reach the nape of your neck, tuck the remaining hair into the body of the braid to create the halo effect, and secure it with bobby pins.
Glam your halo braid up with embellishments
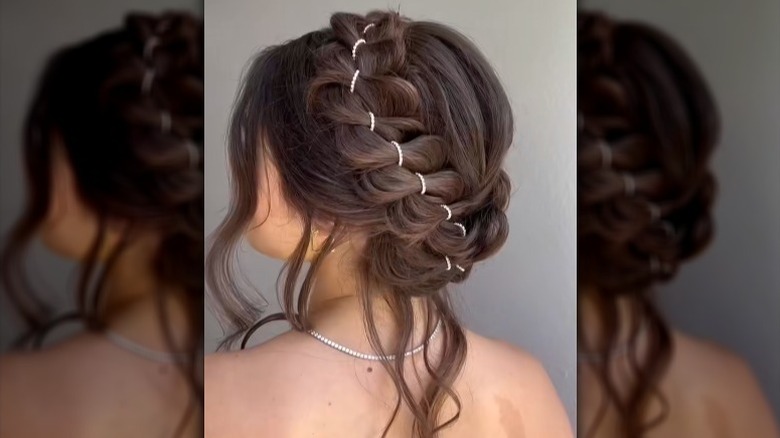
The last step is optional and depends solely on your styling preferences. If you're going for a relaxed halo braid, stretch it out slightly with your fingers and seal the look off with a hair spray to keep everything in place. For a sleek halo braid, add extra hair gel to tame the possible loose hairs before using hair spray.
Everything else is up to you, so have fun! Nothing is off the table when it comes to decorating or styling your braid, so go all out with glitter and gems, or don't. A subtle sparkle can be achieved with a glitter hair spray or shimmering hair oil, and when paired with a messy halo braid, it makes for the perfect ethereal hairstyle. A regular halo braid can easily be glammed up by adding hair gems at the end, but you can also use something like a rhinestone or a flower chain when braiding. To make the romantic hairstyle truly shine, keep your makeup simple and focus on a single face feature to highlight.