5 Tips For Keeping Your Nail Tools Clean
Many of us worry about how well our nail salon sanitizes its tools. But you should be just as critical of your own cleaning process when it comes to your personal nail tools. In his medical blog, Dr. John D. Hollander, a podiatric specialist, warns that "we as humans carry bacteria on our bodies that, when exposed to a cut in our skin, can potentially cause painful or life-threatening infections."
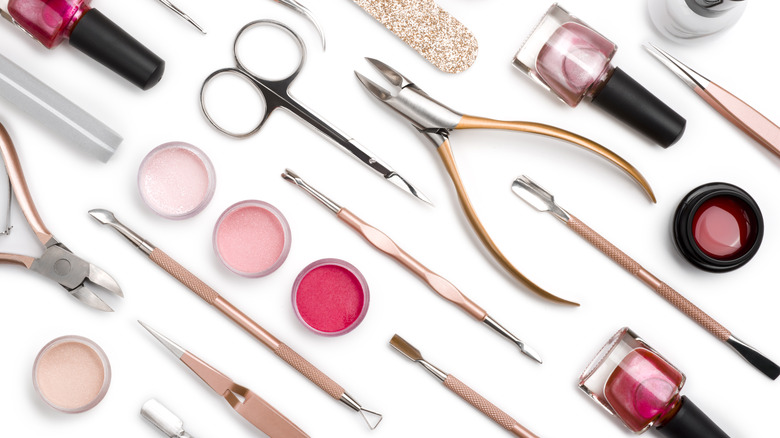
So even if it's just you using your tools, you can very easily be transporting foreign fungi and germs. According to the CDC, this can lead to infections like athletes' foot and even pinworms. If you've ever dealt with a stubborn case of nail fungus, you'll know it's worth it to take the extra time and do a thorough home sanitization. And by thorough, specialists mean thorough. There's much more to keeping your nail tools clean than just soap and water. We've compiled some tips to ensure your tools stay sterile.
Determine if the tool is porous or non-porous
Not every nail tool is the same. Obviously, each unique tool does something different, but we mean that they also need to be cleaned differently. Assessing whether or not the surface of your instrument is porous or non-porous can be a helpful guide to cleaning it. According to the EPA, porous material has crevices and crannies that can absorb or store exterior substances. Porous tools will take more intensive sanitization and disinfectant. On the other hand, non-porous materials, like metal or plastic, are hard and will usually compile bacteria and dirt on their outermost surface. This generally means that non-porous tools will require less deep of a clean.
Soak your nail tool in hydrogen peroxide or alcohol
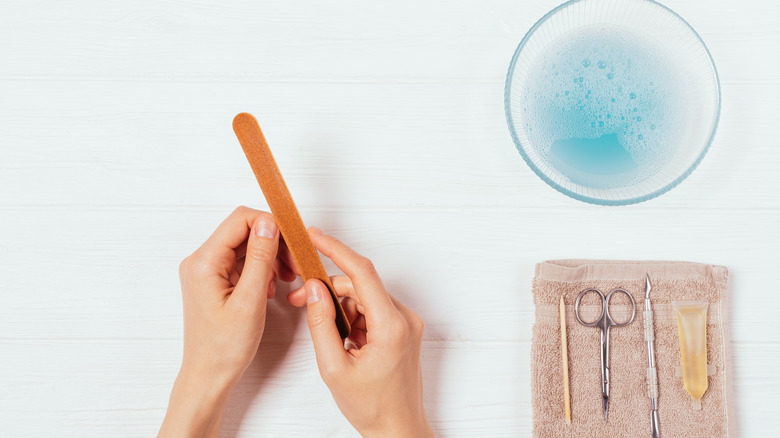
If you have hydrogen peroxide or alcohol, these solutions will come in handy for cleaning your nail tools. In an interview with Byrdie, Amy Ling Lin, CEO and founder of nail care brand "sundays," explains that your scissors, tweezers, and more "can be disinfected by soaking for 30 minutes with rubbing alcohol (at least 70%) or hydrogen peroxide." Fill a bucket large enough to fit your tools and fill it with either substance until your items are fully submerged. Put a timer on and rest easy, knowing your tools will soon be germ-free.
Leave your nail tool in boiling water
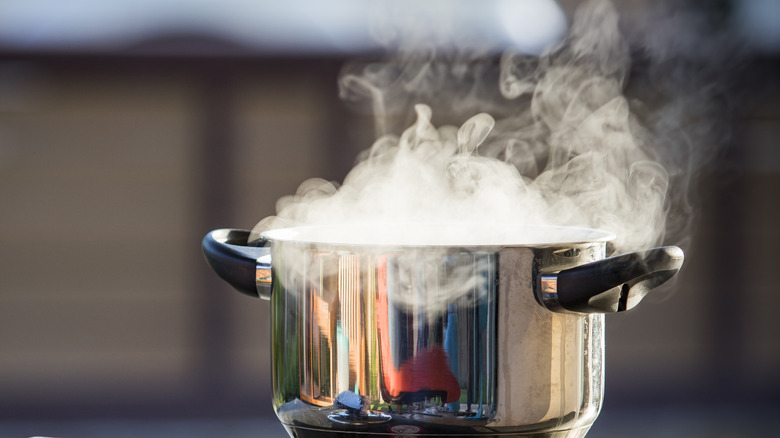
If you don't have access to a chemical cleaner like hydrogen peroxide or alcohol, you can kill most bacteria by placing your tools in boiling water. Healthline remarks that though this process cannot kill 100% of all bacteria, it will kill many microorganisms and is an effective way to clean surfaces. The medical source recommends you bring the water to 200 degrees Fahrenheit and leave your item inside for 30 minutes. Once the 30 minutes are up, be careful not to burn yourself, using a different, pre-sterilized instrument to remove the tool safely.
Use a UV sterilizer if you're in a rush
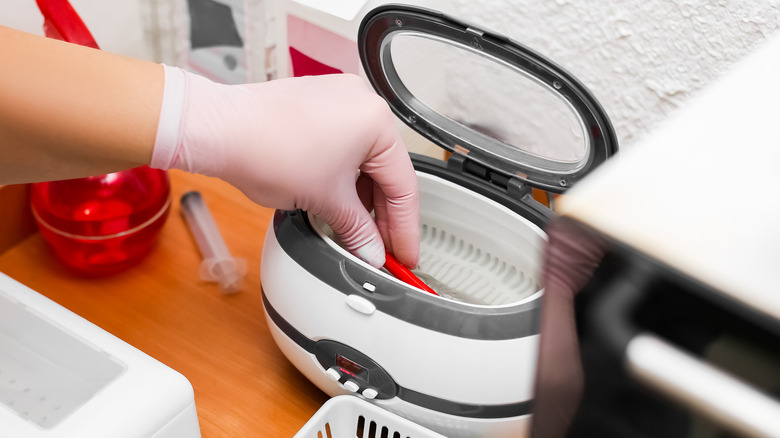
We commend you for taking the time to care for your nails, let alone sterilize the tools you use for them. But sometimes, an extra step or two to your routine doesn't feel manageable. If this is the case for you, we recommend you look into purchasing a UV sanitizer. This is a one-in-done, easy way to disinfect non-porous surfaces, says health.com. Place tools like your nail and cuticle clippers in a UV sterilizer to get them bacteria-free.
Store your tools properly
While your nail tools might have come with some sleek, compressed pouch, this might not be the best storage space to keep them clean. Dr. Hollander recommends avoiding zip-lock bags and small containers to stop them from gathering bacteria. In addition, you should prevent them from mixing with other tools. You'll want to surround them with a fresh paper towel after being cleaned and keep them inside a drawer, on a shelf, or in a sanitized makeup bag. This is probably one of the most critical steps. If you don't do your best to keep your tools clean after making an effort to disinfect them, they could end up dirty again by the time you use them.
